Keyed mortar base coat
Scratch Coat
The first mortar layer in a cement-based assembly — combed while workable so the coat that follows has something to key into, and the surface it starts from is closer to true.
What a scratch coat is
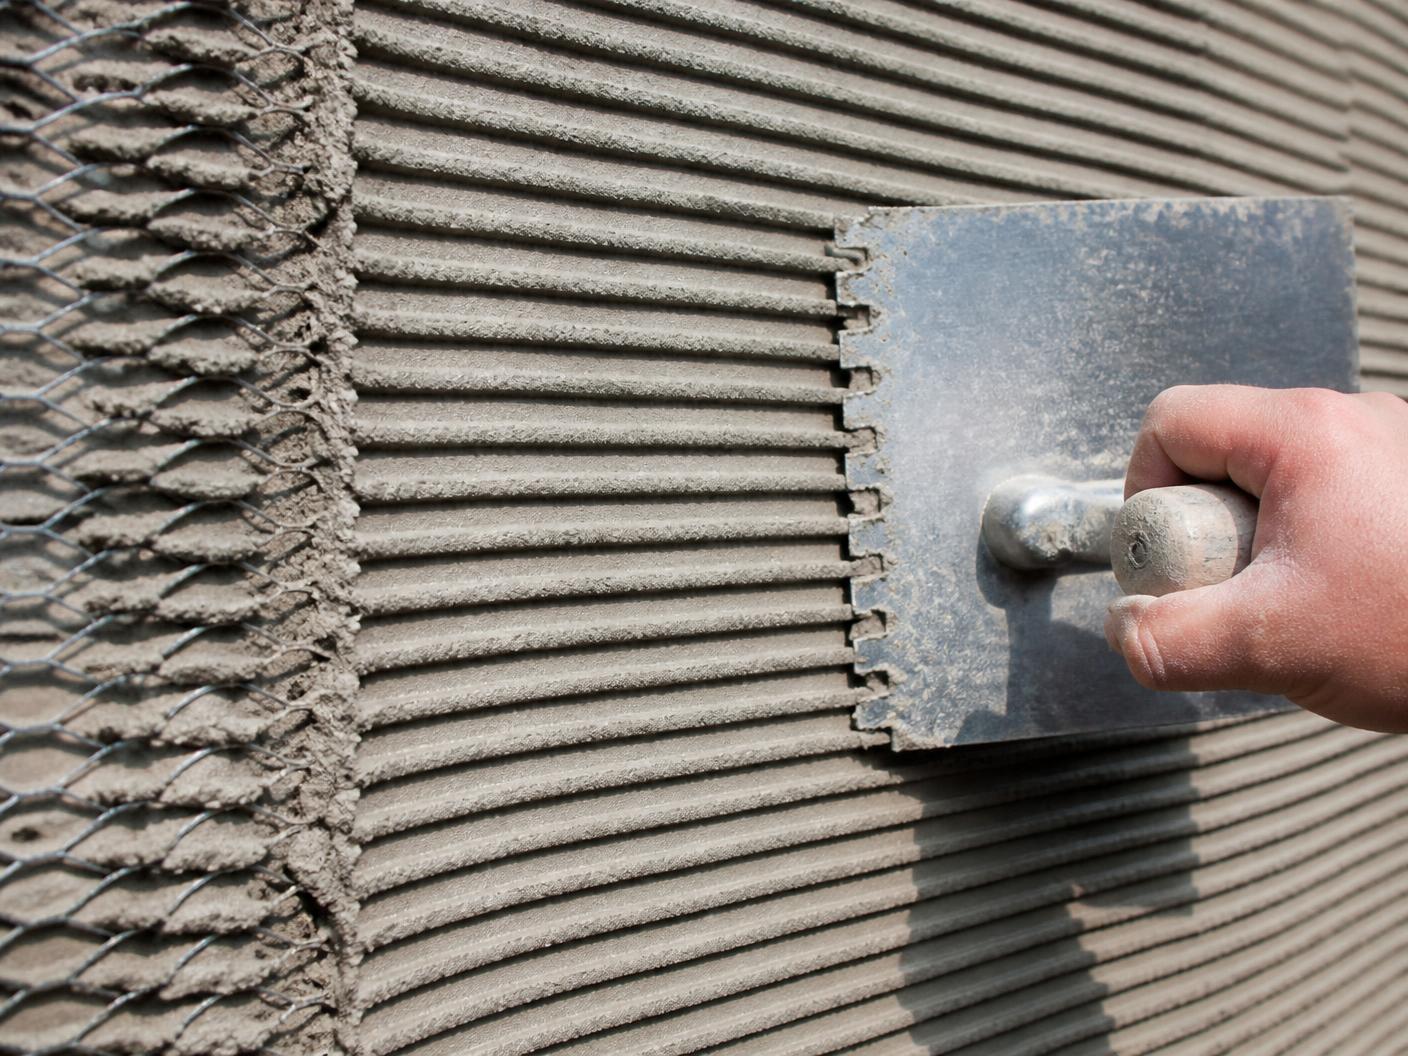
A scratch coat is a base coat of cement mortar applied over lath or a prepared substrate. While it is still workable, the surface is combed with horizontal grooves — 'scratched' — and then left to cure.
Those grooves are the point of the coat. They increase surface area and give the next layer of mortar a mechanical key to grip into, rather than relying on adhesion to a smooth face alone.
Where it is used
Scratch coats belong to cement-based wall and floor assemblies. In shower and bathroom construction they commonly appear as the first mortar layer over metal lath on a wall that will later receive a mortar bed, a waterproofing layer or tile, depending on the method being used.
- Over metal lath on framed walls in wet areas
- Over concrete or block where a flatter, keyed face is needed
- As the first stage of a multi-coat mortar wall build-up
Why substrate preparation matters
Everything above a scratch coat inherits its geometry. A wall that leaves this stage bowed, hollow or out of plumb carries those errors into the mortar bed and then into the tile, where they show up as lippage, uneven grout lines and awkward transitions at corners and niches.
Preparation is also the last easy opportunity to correct a substrate. Once later layers are on, adjustments mean removal rather than refinement.
What the process generally involves
The specifics change with the assembly, but the sequence is consistent: confirm the substrate and its fixings, establish reference points for plane and plumb, mix and apply the mortar, comb the surface, and let it cure before the next stage.
- Check the substrate, framing and any lath or fixings already installed
- Set out reference points so the finished plane is deliberate, not approximate
- Apply the mortar coat and comb the surface while it is workable
- Allow the coat to cure before the following layer is built on it
Questions
Scratch Coat FAQs
Related services
- Read more
Membrane
Waterproofing membrane work for wet areas — applied over prepared substrates so water is managed at the correct layer of the assembly.
- Read more
Drypack
A stiff, low-water sand and cement mortar bed, packed and screeded to a precise plane or slope as a substrate for tile and stone.
- Read more
Shower Drypack
Shower floor and base preparation: drypack mortar packed and screeded to consistent slope toward the drain, ready for the finishing trades.
Request a Quote
Planning a shower or substrate build?
Send the project details and we will come back to you about scope, sequencing and scheduling.